02 Oct Accepting Orders on Lightspeed POS
(Note: This feature is still being finalised and is subject to change. Information is correct and relevant as of 05/10/2020, but functionality should not change too much from this point)
Accepting orders on Lightspeed (formerly Kounta), is thankfully pretty straight forward. This is the first POS system iBe fully integrated with, so it was the first to get fully refined.
Jump to:
1. Accepting Table Orders
1a. Accepting/Rejecting Orders
1b. Clearing Delivery/Click & Collect Orders
2. Accept customers ‘Paying In-Store’
Accepting Table/Delivery/Click & Collect Orders
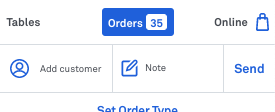
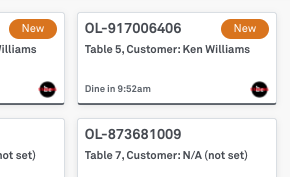
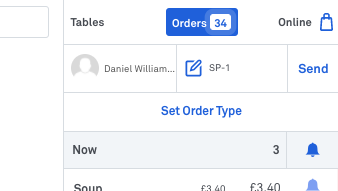
When someone uses the ‘Order’ feature and checks out successfully, your device should make a loud ‘Ding!’. If you navigate to your ‘Orders’ section in the top left (shown below), you’ll be able to find new orders from the Orange ‘New’ icon.
New Orders Coming In
A New Order Ready to Action
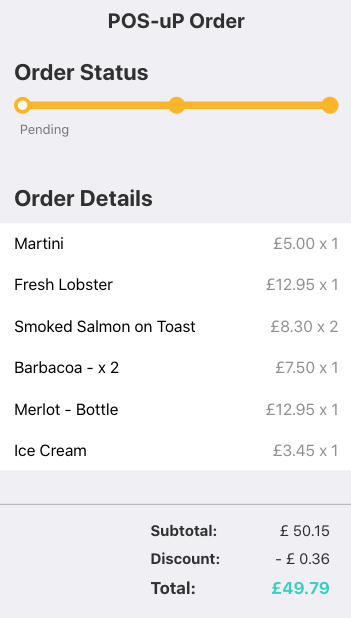
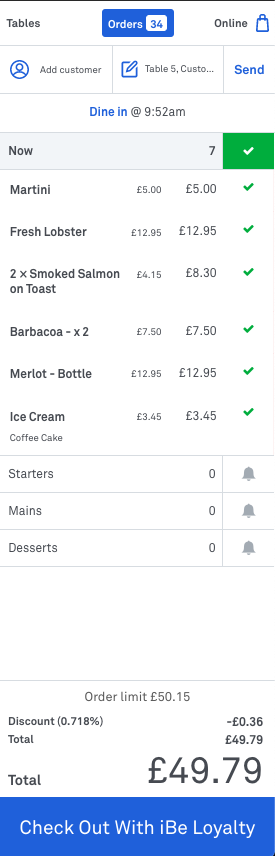
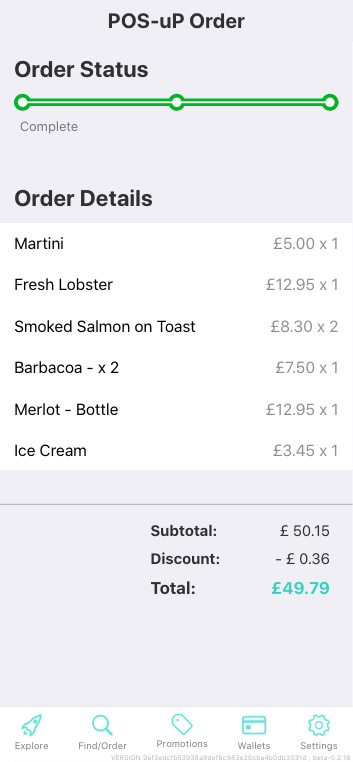
If you click on the new order (shown below), on the right hand side, you’ll be able to see the items they’ve ordered, any loyalty discount applied to the order, and the total of the order. Just above that, you’ll be able to see the order type, and any relevant timings. This will be either ‘Dine In’, ‘Delivery’ or ‘Pick Up’, and will then show the time required for the order to be ready by.
In the case of delivery and click and collect, the time will be the time the driver/customer will come and collect the order, so ensure it’s ready by the exact time.

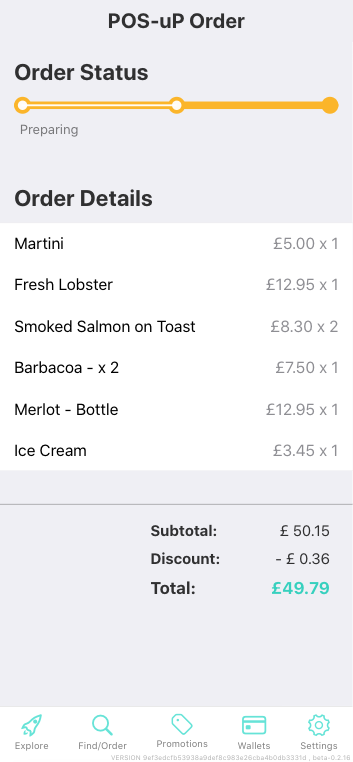
What the customer sees at this point
Accepting
If everything looks good, press ‘Accept’, then ‘Check Out with iBe Loyalty’. Then, if set up, the order will either print or go to your Bump Screen ready to be made. This puts the order into the ‘Pending’ tab of the ‘Orders’ section and payment is authorised. If it’s a Delivery or Click and Collect order, it will also go into the ‘Online Orders section of the ‘Orders’ page.
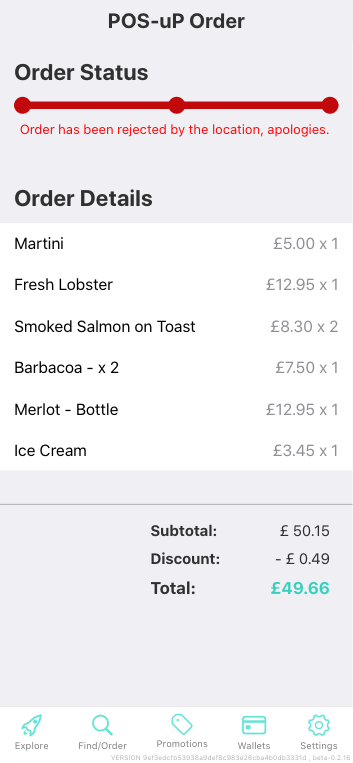
Rejecting
Press ‘Reject’ if you can see an issue with the order, and can’t make it. The customer will be notified and they can then try their order again. You’ll be prompted to enter a reason why this is rejected, but this is for personal reference, and not passed on to the customer. Please speak to the customer personally to notify of exact issues.
Order once Accepted
Accepted
(Visible to customer on iBe)
Rejected
(Visible to customer on iBe)
This is now your time to make your order and get it all ready to be served.
Once the order is ready, and you want to clear the order from the POS and complete the transaction, head back to the ‘Pending’ or ‘Online Orders’ tab in the ‘Orders’ section, and open the order you wish to complete.
Press ‘Ready’ to complete this order (shown below).
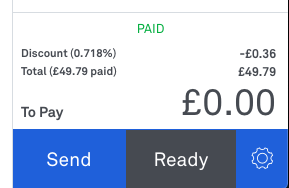
Order Complete
(Visible to customer on iBe)
Pressing ‘Send’ will put the order back into the ‘Pending’ tab in the ‘Orders section’.
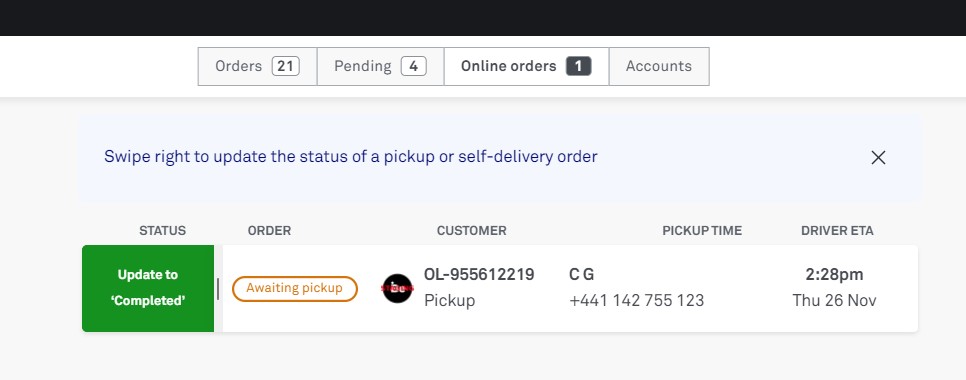
Clearing Delivery/Click & Collect Orders once collected
To clear Delivery and Click & Collect orders from the ‘Online Orders’, you need to find the order in the list and swipe right on it to reveal the option to complete the order fully (shown below).
Accepting Customers ‘Paying In-Store’
When someone orders at the counter or with a member of staff directly, ‘Paying In-Store’ is how the customer will pay for their order.
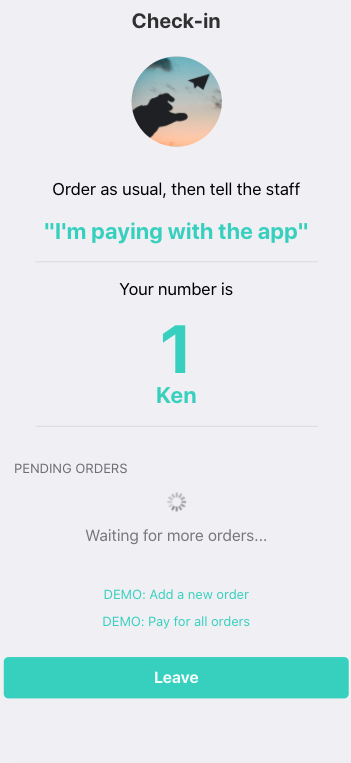
To do this, enter the customer’s order into your POS like you usually would. Once their order is entered completely and they’ve mentioned they would like to pay with the app, ask them for the number they see on their app screen (shown below).
If they can’t see the number you’re on about, ask them to go to your location page, and select ‘Pay In-Store’ from the ‘Order’ tab.
Finding The Customer on the POS
To find the customer on the POS, press ‘Add Customer’ in the top right of the POS (shown below)
Then, type the number the customer gave you in the search bar along the top, and press the search icon that appears with ‘iBe Loyalty’ underneath it (shown below).
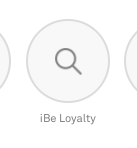
Once the above search button has been pressed, the only icon that appears is the customer wanting to pay. You can confirm their name shown, if needed.
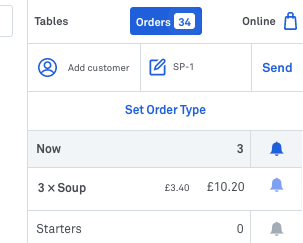
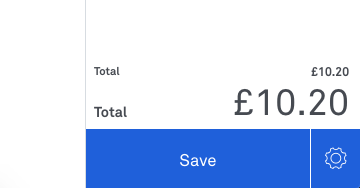
Once you click on their icon, then click ‘Save’ in the bottom right (shown 1st below), the customer will be added to the order (shown 2nd below).
To complete the order and take a payment, make sure the customer is added to the order, and press ‘Checkout’, then press ‘iBe Loyalty’ as the payment type.
Notes:
- If you try and check out with iBe Loyalty, and there is no customer attached to the order, an error will come up
- The customer can leave their ‘Pay In-Store’ page open for the entirety of their stay, and if they order multiple times, their number will remain the save until they press ‘Leave’ on their device
- The customer has to have the ‘Pay In-Store’ page open for you to be able to find them on the POS. If they insist their number is correct, ask them to show the number on their phone and leave it open until you complete the order
Sorry, the comment form is closed at this time.