
18 Jun Managing Categories
In iBe v3, categories have had a huge facelift, and managing them has changed slightly!
Jump To:
1. Adding/Removing Categories
2. Category Images
3. Re-Ordering Categories
Your categories are presented more visually in iBe v3, appearing as tiles when a customer first comes onto the app, as opposed to a swipe-able bar in iBe v2 (shown below)
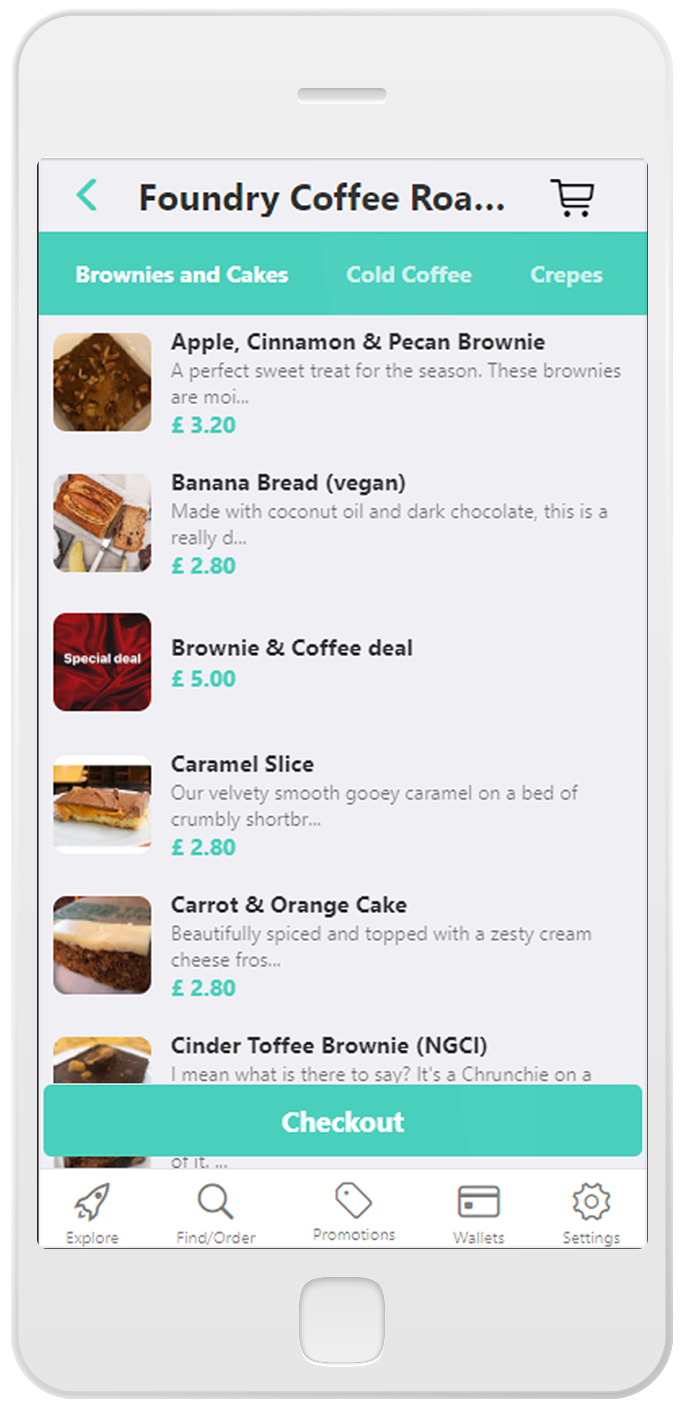
iBe v2 Category layout >>>
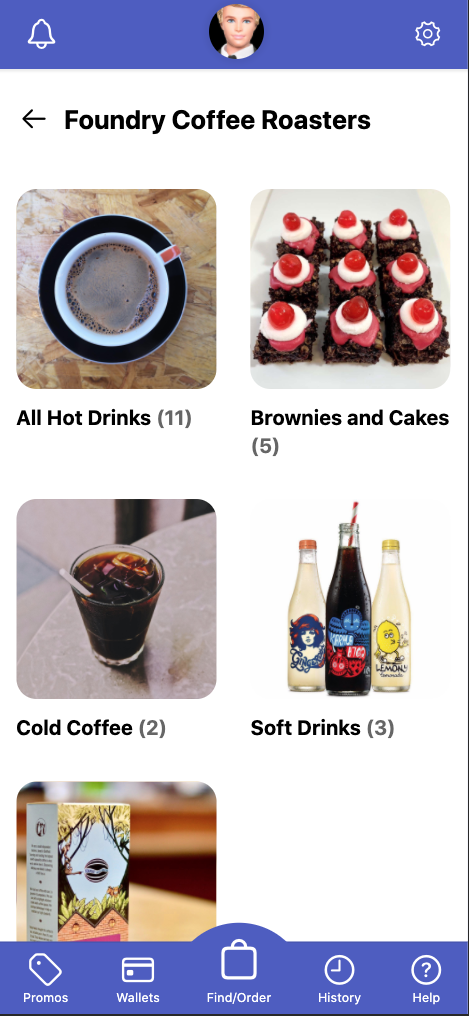
iBe v3 Category image layout
Adding/Removing Categories
Categories are defined when adding products in the Lightspeed POS System. Upon doing a Till Provider Sync, your categories will pull through to iBe and present themselves initially in alphabetical order.
To disable a category from appearing, you can do this on the iBe Dashboard under ‘Product Categories’. The yellow “Disable (Category Name)” (shown below on the right hand side) will disable the category instantly on the customer front-end of the app, so no products from that category can be seen or bought.
To permanently remove a category, or rename an existing category, this will need to be done in Lightspeed, then synced across. You can do this by reassigning categories to any applicable products (if necessary), then going to Products > POS Categories, and then deleting or renaming whichever categories you want. Remember to sync iBe afterwards to pull the changes through.

To re-enable any disabled categories, click on the ‘Disabled’ tab (shown above), and press the yellow “Enable (Category Name)” button on whichever category you want to re-enable. This re-enables the category ready for customers to see the products within.
Category Images
Currently, the images visible on the category tiles are selected from one of the products within that category, if they’re present. If no products have images in that category, the default food/drink logo is added as the category image.
In future, it is planned to add the ability to upload custom images to each category, so you can add in custom/branded imagery.
Re-Ordering Categories
Categories in iBe work on a number priority system. Higher numbers assigned to each category put those categories first. For example, if you had 10 categories and numbered them 100, 90, 80, 70… etc., the category with 100 would appear first, 90 would appear second, and so on. Any categories without a priority number assigned will be sorted alphabetically below the categories that do have a number assigned. This is demonstrated below.
Example Categories In Order:
- Burgers (Priority No: 100)
- Loaded Fries (Priority No: 95)
- Sides (Priority No: 80)
- Desserts (Priority No: 70)
- Kids Menu (No Priority No. Set)
- Sauces (No Priority No. Set)
To edit these priority numbers, go to Product Categories > and then ‘Edit’ on whichever category you wish to prioritise. Enter your chosen number in the ‘Priority’ box, and press Save to apply the changes. Upon returning to the Product Categories page, you should seen that the categories will re-arrange themselves in the order they’ll appear on the app. Use this to judge whether you’ve entered the priority numbers correctly, and adjust accordingly if incorrect.
Sorry, the comment form is closed at this time.